Client Portal Setup
BlueSuite’s Client Portal gives your customers a secure customer portal where they can view requests, quotes, invoices, and appointments in one place. As a result, clients can handle common tasks without calling or emailing your team. In turn, your business spends less time on follow ups and more time getting work done.
In this guide, you will learn how to enable the portal, where to find your portal link, how to let customers send you requests, and how magic link login works.
What the portal does
The portal is a branded customer portal that lets clients sign in and manage their activity with your business. For example, clients can submit new service requests, approve or decline quotes, and pay invoices online. Additionally, they can view upcoming appointments and request changes when needed.
After you enable it, BlueSuite provides a portal URL you can share with customers.
Turn on the portal
Step by step
- First, log in to BlueSuite.
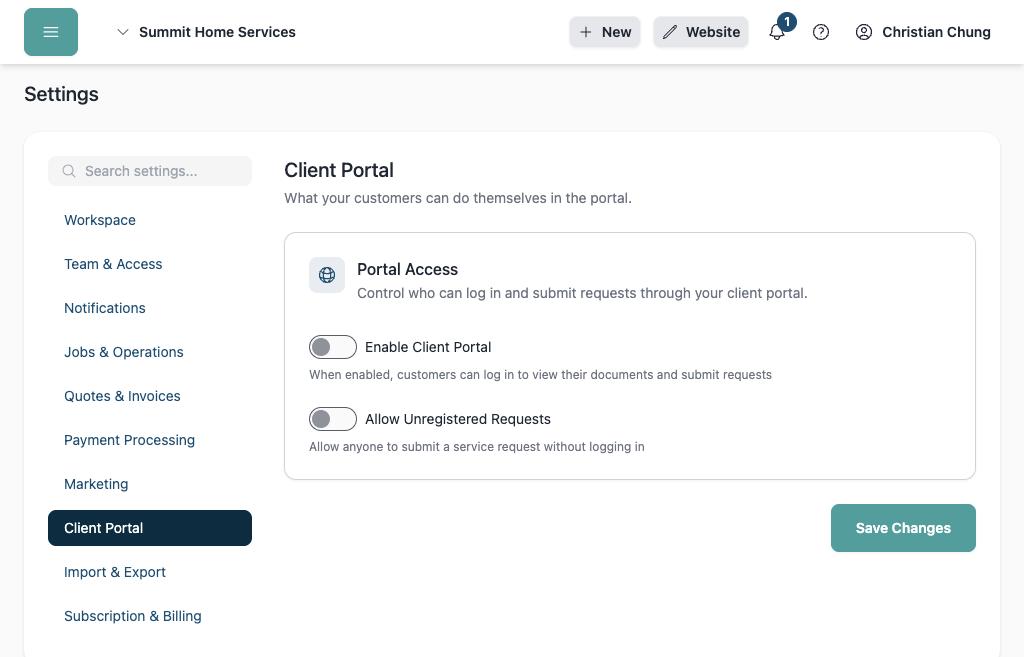
- Next, go to Settings, then Client Portal.
- Then turn on Enable Client Portal.
Find your portal URL
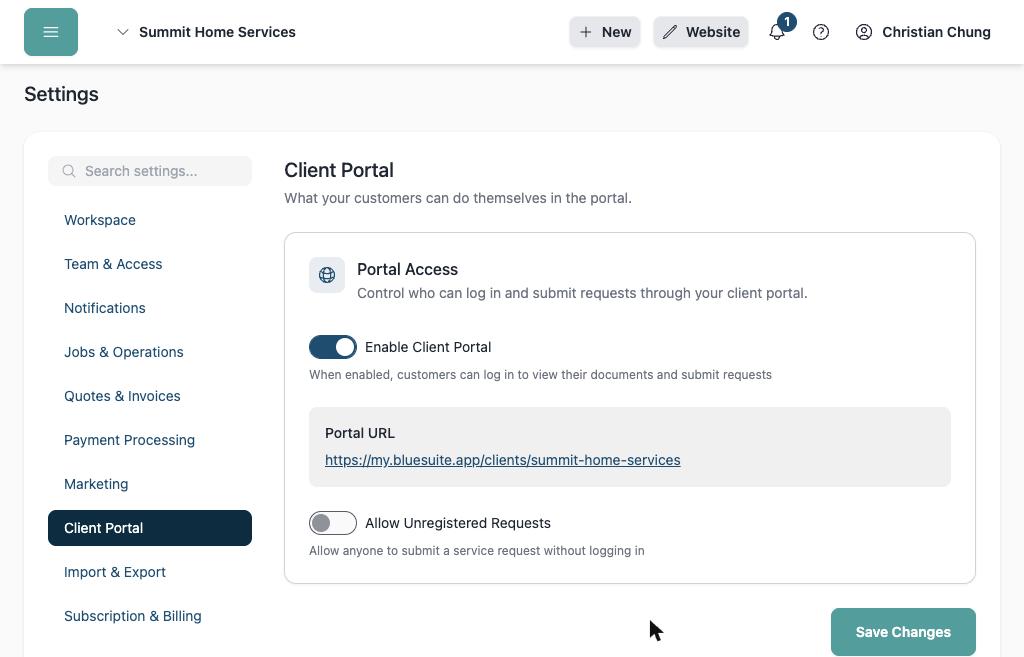
Once it is enabled, your portal URL appears on the same page. From there, copy the link so you can share it with customers.
Choose the form customers use to request work
The portal does not come with a request form of its own. You decide which of your client forms it offers, so the questions your customers answer are the ones you actually want to ask.
- Build and publish a client form under Settings, then Forms.
- Go to Settings, then Client Portal.
- Pick your form under Request Form and save.
A New Request button then appears in the portal sidebar, on the portal home page, and above each customer’s list of requests. Because they are already signed in, their details are filled in for them and they pick from the properties you have on file.
Only published forms can be chosen, since an unpublished one has no page to send anyone to. If you later unpublish or delete the form you picked, the button disappears rather than sending customers to a broken page.
Leave it set to None and the portal simply has no request button. Customers can still view everything else, and you can still take requests through a link, a QR code, or a form on your website.
Share the customer portal link
After you copy the portal URL, share it anywhere customers expect to find it. For instance, you can add it to invoice messages, quote messages, and booking confirmations. Likewise, you can include it in your email signature or add a Client Login button on your website.
Best places to share it
- Invoice and quote messages
- Booking confirmation emails
- Your email signature
- Your website as a Client Login button
Let people send requests without signing in
New leads have no account yet, so they cannot use the portal. Reach them with a client form instead. Every published client form has its own public page that anyone can open and submit, plus an embed code for your website and a downloadable QR code.
Client forms are part of the Requests module rather than the portal. That means they work on every plan, whether or not the Client Portal is switched on. You can use the same form in both places: publish it, share its link publicly, and also set it as your portal Request Form.
For more on building one, see Client Forms and Online Booking. For the other ways leads can reach you, see Managing Requests.
Important notes
However, a public form does not provide full customer portal access. Clients still need to sign in to view quotes, invoices, appointments, and request history. Therefore, only registered contacts in your BlueSuite workspace can sign in.
Passwordless login (Magic Link)
BlueSuite uses passwordless magic link login. In other words, clients do not need to create or remember a password. Instead, they log in using their email address.
Step by step login flow
- First, the client enters their email address on the login page.
- Next, BlueSuite checks whether the email matches a contact in your customer database.
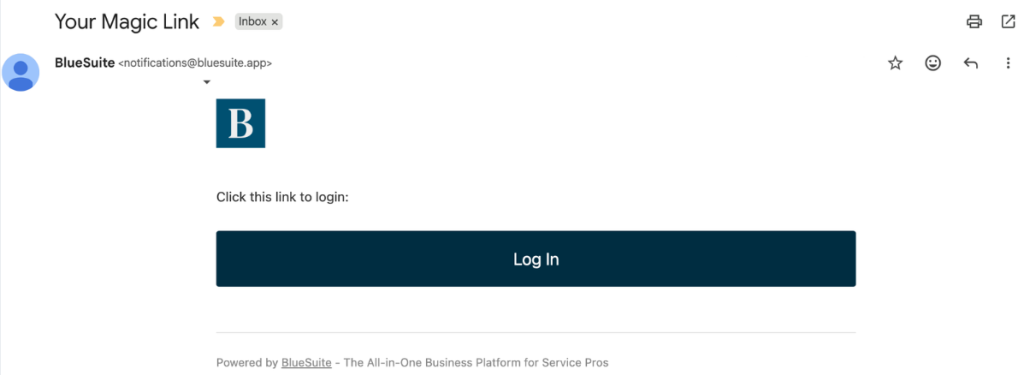
- If it matches, BlueSuite sends an email with a secure magic link.
- Finally, the client clicks the link to sign in.
If a client cannot sign in
If the email does not match a contact, the client cannot sign in. Still, they can send you a request through any client form you have published, since those pages need no account at all.
What clients can do after they sign in
Submit service requests
If you have set a Request Form, clients can send you a new request from the portal. They answer the questions you chose when you built the form, and it arrives in BlueSuite the same as any other request. If that form also takes bookings, they can pick their appointment time while they are there.
Track requests
Clients can view their requests in one place. As a result, they can check details and status without contacting your team. In addition, they can reference past requests whenever they need to.
Review and approve quotes
Clients can open a quote, review line items and totals, and accept or decline online. Therefore, approvals happen faster and you spend less time chasing replies.
View and pay invoices
Clients can open invoices and pay online using credit cards or ACH transfers. Consequently, you can get paid faster while reducing payment follow ups.
View and manage appointments
Clients can view upcoming appointments and request rescheduling or cancellation. Then your team is notified, so you can respond and adjust accordingly.
Business contact page
Clients can quickly find your website, phone number, email, and address in the portal. That way, your contact details are always easy to access.
Do I need the Client Portal to send invoices and quotes?
No. You can send invoices and quotes to your customers without the Client Portal, and your customers can still view, approve, decline, and pay them just like they always have. The Client Portal is an optional Advanced Plan upgrade that gives your clients a single place to see all of their quotes, invoices, requests, and appointments together.
What is the Client Portal?
The Client Portal is a secure, branded space where your clients can log in to view their requests, quotes, invoices, and appointments, all in one place. They can also send new requests, approve or decline quotes, pay invoices, and manage their appointments without needing to call or email you.
Which plan includes the Client Portal?
The Client Portal is available on the Advanced plan. Upgrade to Advanced to give your clients a professional self-service experience.
Do I need the Client Portal to take requests from my website?
No. Client forms are part of the Requests module and work on every plan, with or without the Client Portal. Each one has a public link, an embed code for your website, and a QR code you can print. The portal adds a place for existing customers to sign in and see everything together.
Can my clients pay invoices through the portal?
Yes! Clients can view their invoices and make payments directly through the portal using credit cards or ACH transfers. This helps you get paid faster and reduces the time spent chasing payments.
Can clients request to reschedule or cancel appointments?
Yes, clients can view their upcoming appointments and request rescheduling or cancellation directly from the portal. Your team receives a notification so you can respond and adjust accordingly.
How do clients access the portal?
Clients receive a link to the portal where they can log in securely. Once signed in, they have access to all their project information, quotes, invoices, and appointments.
Can clients submit new service requests?
Yes, once you choose a Request Form under Settings then Client Portal. Pick one of your published client forms and a New Request button appears in the portal. Clients answer the questions you chose, and the request goes straight into your BlueSuite workflow.
Is the Client Portal branded to my business?
Yes, the Client Portal displays your business logo and contact information, giving your clients a professional, branded experience when they interact with your business online.